✳︎ What is hot foil printing?
In this article we’ll take you with us to show you what it takes to print beautiful wedding invitation designs on our hot foil press. Discover the phases we go through to create impressive and unique wedding stationery!
1. The Design Phase
We love to sketch out our ideas on paper first. This way we don’t get distracted by the oh so many tools in our graphic design software. And more importantly – it forces us to keep the focus on the idea and not on making it perfect straight away. Sketching on paper keeps our ideas fresh and we’re less afraid to try out different things. And if you’re scared of being an ugly sketcher – don’t be, it’s about the process now! We’ll take care of the details in the next phase.
2. The Clean up Phase
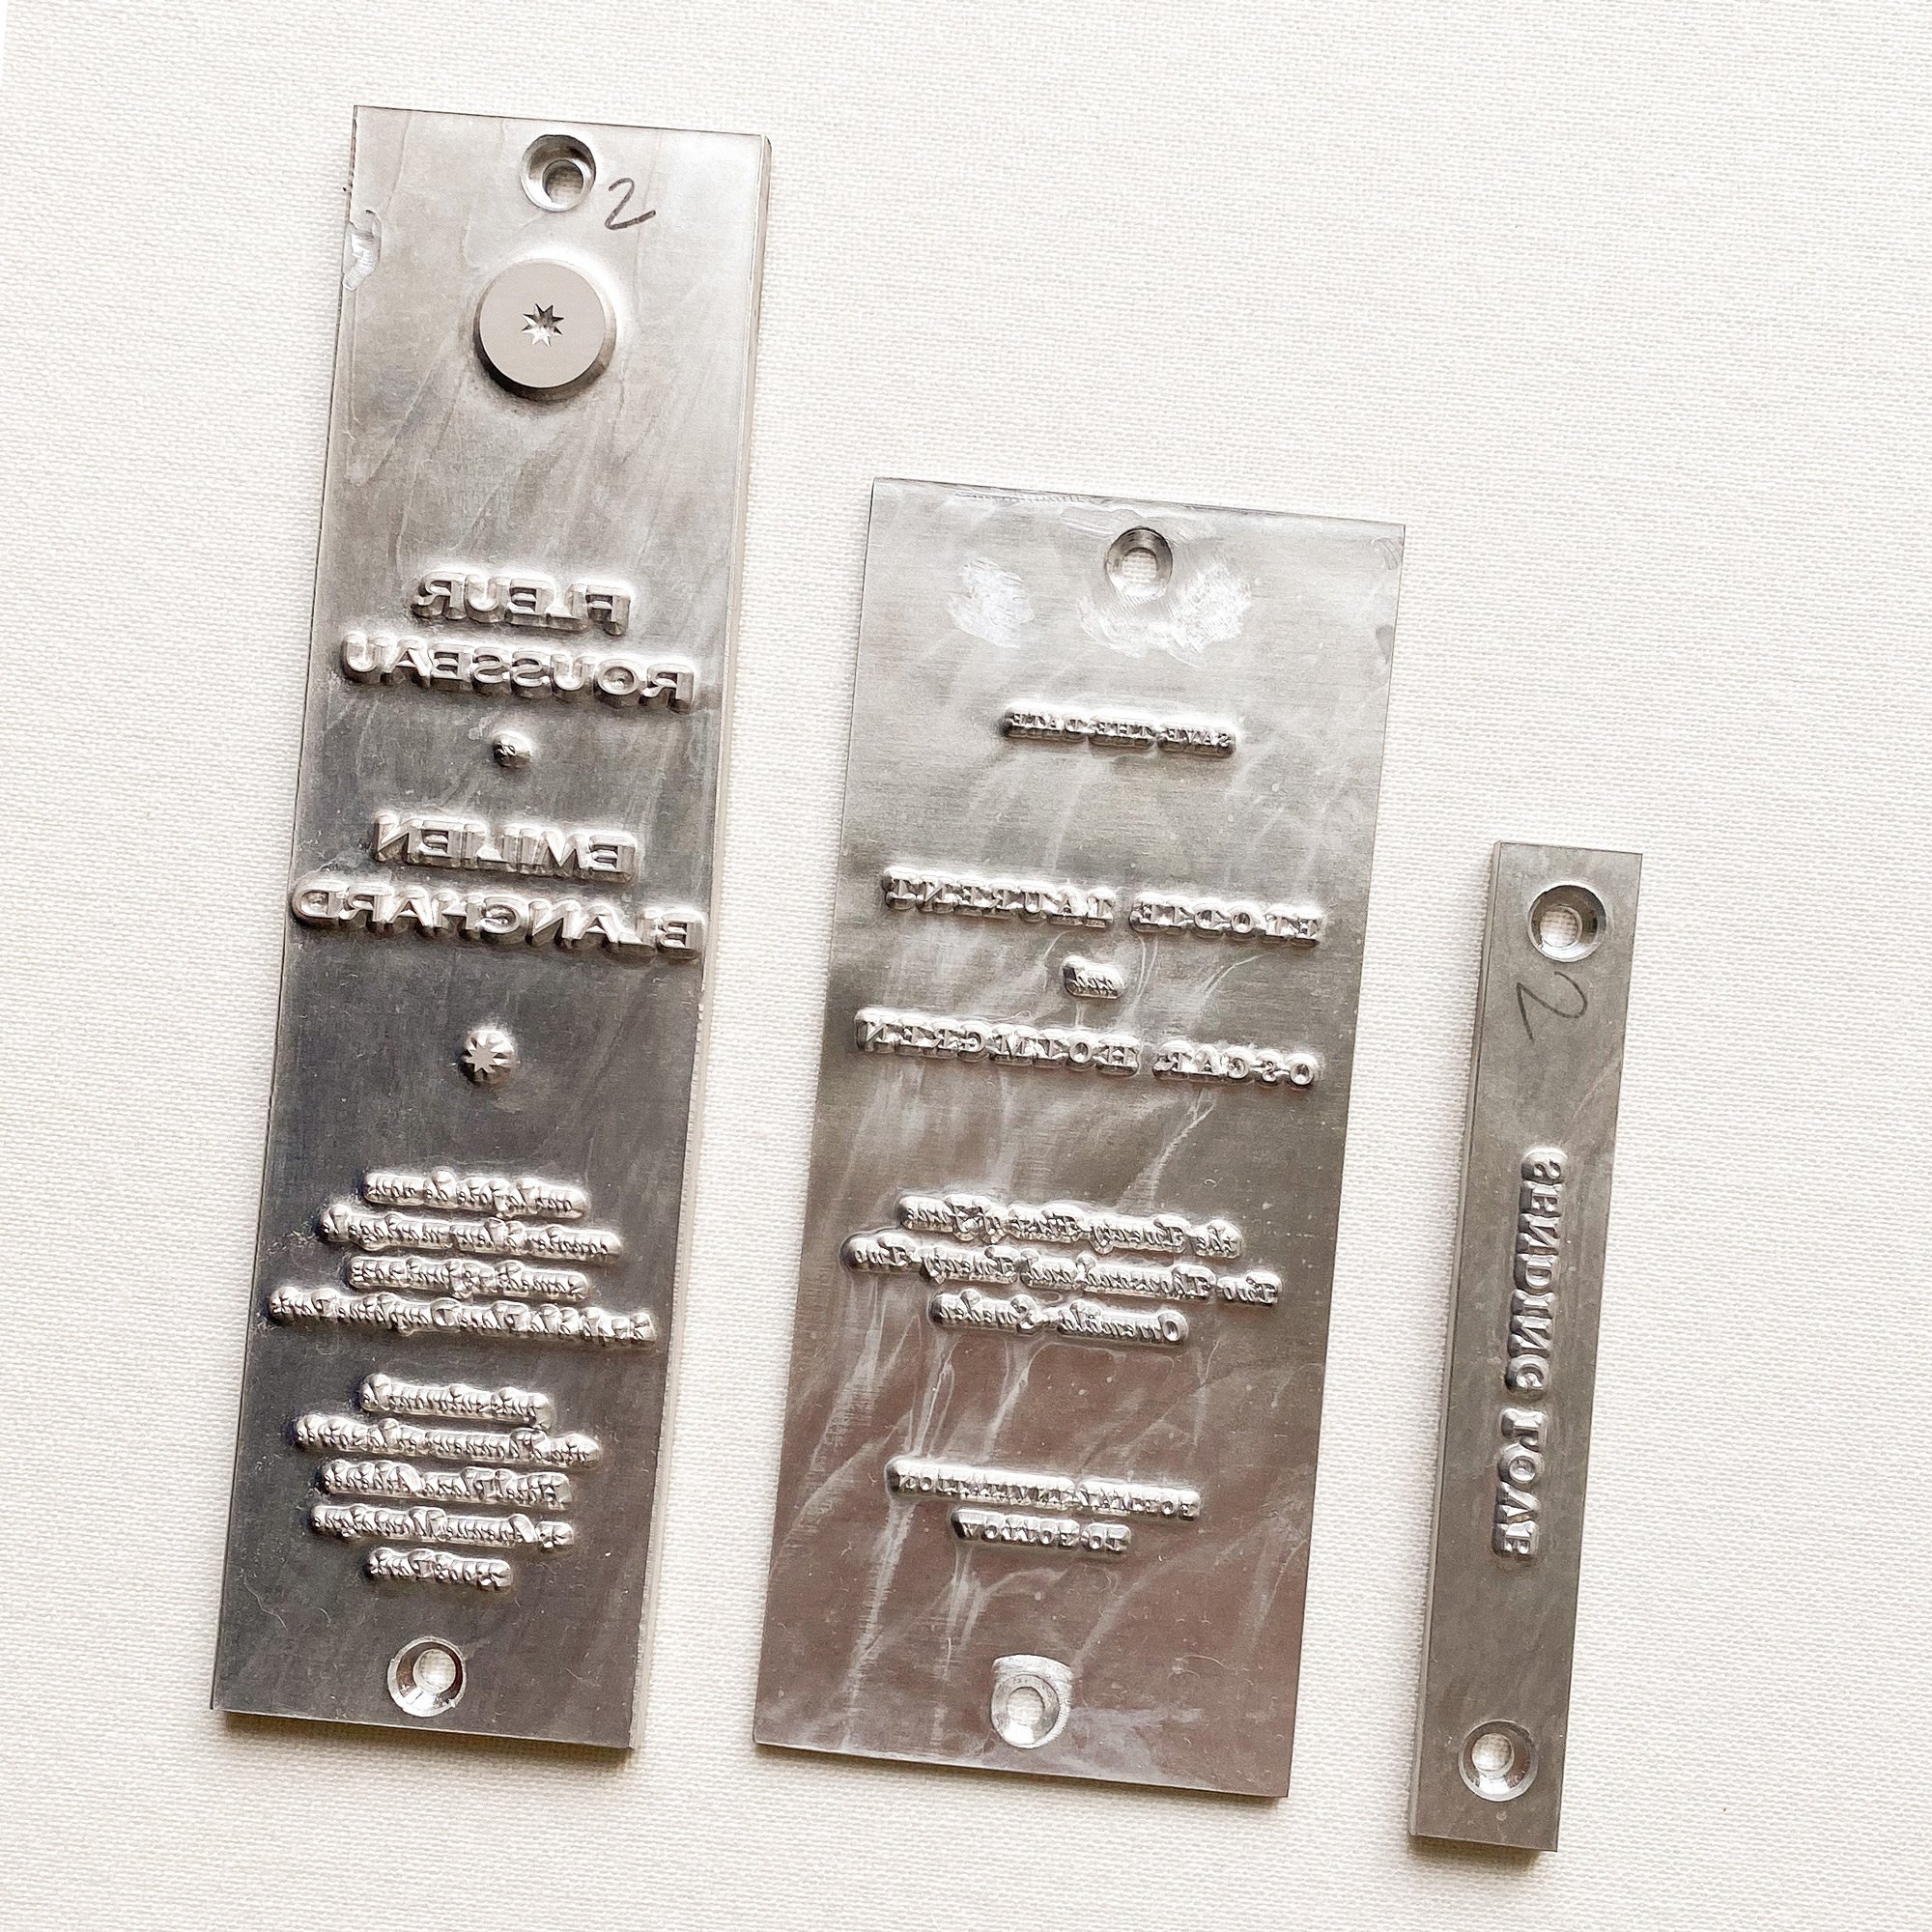
In order to print on our hot foil press, we need to order printing plates with our manufacturer. So after taking our sketches into InDesign we create a cleaner design of what we did on paper in digital form. Everything that was a blurry, abstract idea now becomes a clear vision. Lines will become text in a specific font and set in lovely paragraphs to gently guide the eye. And shapes will be graphic elements to enhance the underlying meaning of the overall design. We then send off a PDF file to our manufactures and after a few days we receive a metal plate by post.
Also, when designing for a foiled invitation we need to keep different factors in mind – keeping our designs simple is key for that. This ensures that your print will come out very precise and most importantly legible! For example, if your print has design elements that are both fine or with a lower contrast (like very delicate fonts) and bold or cover a larger area (like patterns or graphic elements), we’re likely to make to different printing plates out of it to get the best printing results.
3. Preparing for Print Phase
So, now we unpack our metal plates and check if everything is ready to use (are there any damages by transport etc.). Our plates are made from magnesium, they’re super light in weight and don’t take up too much space in the studio. In order to print it’s important that our design on the die is inverted – if it’s not, it will show up inverted when printed – first big check! Fun fact: if you’d wanted to print two different colors on one card, you’d need two separate printing plates to do that.
Secondly we check if the position of the screw holes are correct, so we can screw the printing plate into our press. If so, it’s time to do some test prints without foil. It’s very important to get the pressure right, so we do that step without any foil to not waste it. There are five big screws on the back of our press. By adjusting these we can ensure that our designs are printed evenly. This step can take a while (sometimes up to an hour, depending on the material) but once that step is done, the beauty of printing begins.
4. The Harmony of Pressure, Temperature and Time
Time to print! Well, you may have guessed it – but it’s not that easy. In order to transfer the foil onto the paper, the side of the press where the metal plate is screwed in, needs to be heated up. The metal plate gets hot and the foil will be transferred to the paper when you press down the handle. If you’re lucky you’ll get it right the first time. But in our experience every foil reacts differently to every paper. We need to find the sweet spot of the right temperature, pressure and time (how long you actually press down). It’s fiddly but we love that part though – it makes the printing part even more special and enjoyable.
So, say we hit that sweet spot – last thing to check is the alignment of the paper (which is on the other side of the hot metal plate). This is important, so the design will sit straight on the final card. Et voilà – we now print the amount of needed cards (and of course many many extras).
You will notice that it takes a lot of patience to get to the actual printing part and there’s a lot of manual labour involved. But it is worth the sparkly outcome, promise! And doesn’t it make the final product even more special? We think so!
5. Printing Session
This may sound very complicated to you. We get it, you’ve likely read about this special process for the first time. Want to take look above our shoulders and see how we do it? No, worries! We’ve prepared a little printing session video for you to watch.
We hope you enjoyed our little ride and would love to answer any questions you have about hot foil printing. Write us an email to let us know what you’re curious about!
Feel free to browse through our Semi-Custom Collection to get an idea of what your invitations could look like.


